
How to Mix Skin Tones in Oil Painting: A Practical Guide

Updated: Sep 3
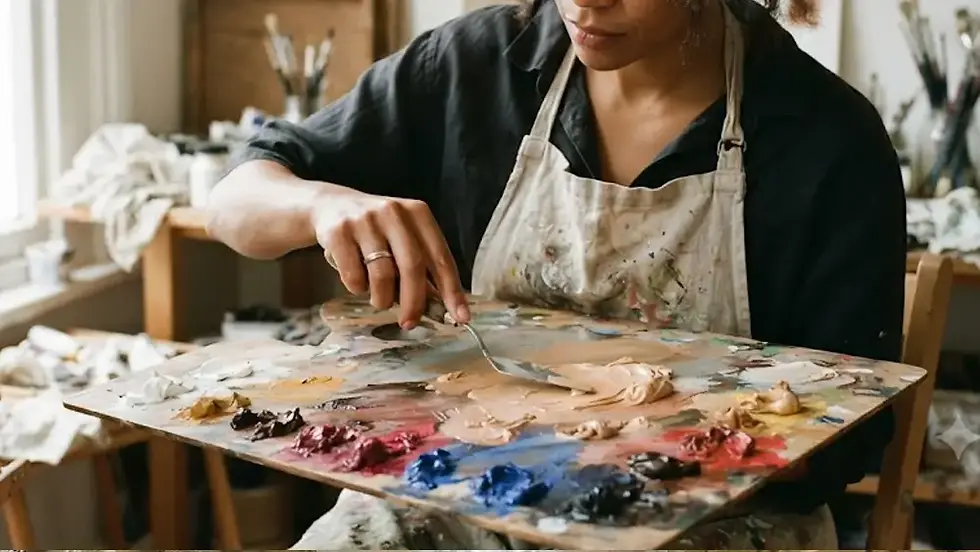
Mixing convincing skin tones is one of the biggest challenges in oil painting.
Many painters believe the secret is finding the perfect combination of colors.
But realistic skin does not come from a single formula.
Professional portrait painters understand that skin is created through relationships:
Light and shadow
Warm and cool shifts
Saturation control
Value structure
A skin tone is not simply "peach," "pink," or "brown."
It is a complex interaction of colors changing across the surface of the form.
In this guide, we will explore how to mix skin tones in oil painting using practical methods that help create more natural and believable portraits.
1. Start With Value Before Color
One of the most common mistakes painters make is focusing on color too early.
Before asking:
"What color is the skin?"
Ask:
"How light or dark is this area?"
Value creates the structure of the portrait.
A painting with accurate values and simplified colors will usually feel more convincing than a painting with beautiful colors but incorrect light and shadow.
Before mixing skin tones, establish:
The lightest areas
The darkest areas
The midtone family
The relationship between light and shadow
Color works best when the value structure is already correct.
2. Understand Skin as a Range of Colors
Skin is never one color.
Even within a single face, you can find different temperature changes:
Warm areas:
Cheeks
Nose
Lips
Ears
Cooler areas:
Forehead
Jawline
Areas affected by reflected light
Neutral areas:
Large planes of the face
Professional painters do not mix one "skin color."
They create a family of related colors that work together.

3. A Simple Oil Painting Skin Tone Palette
A useful starting palette for portrait painting:
Titanium White
Used to adjust value and create lighter mixtures.
Yellow Ochre
Creates natural warm earth tones.
Cadmium Red or Permanent Red
Adds warmth and life.
Burnt Sienna
Useful for warm shadows and natural skin mixtures.
Ultramarine Blue
Helps neutralize colors and create cooler variations.
Ivory Black (optional)
Can be useful for controlled neutral mixtures, although many painters prefer mixing darks with chromatic colors.
4. Using the Zorn Palette for Skin Tones
Many portrait painters study the Zorn Palette because it teaches control and simplicity.
The traditional Zorn Palette includes:
Yellow Ochre
Vermilion or Cadmium Red
Ivory Black
Titanium White
With only four colors, painters can create a surprisingly wide range of skin tones.
The advantage of this approach is not that it creates one perfect skin mixture.
The advantage is that it trains painters to think about:
Value
Temperature
Color relationships
A limited palette often creates more harmony.
5. Basic Skin Tone Mixing Approach
Instead of memorizing recipes, think in relationships.
A general approach:
Base Midtone
Combine:
Yellow Ochre + Red + White
Adjust depending on the subject:
More red → warmer skin
More yellow ochre → golden tones
More white → lighter value
Warm Light Areas
Increase:
White
Yellow Ochre
Small amounts of warm red
These areas often appear brighter and more saturated.
Cool Shadow Areas
Avoid simply adding black.
Instead try:
Burnt Sienna
Ultramarine Blue
Small amounts of the base skin mixture
This creates richer shadows with more life.

6. How to Avoid Muddy Skin Colors
Many painters struggle with muddy portraits.
Usually the problem is not the colors themselves.
It is mixing too many colors without understanding their relationships.
Common mistakes:
Adding too much white
This can remove color intensity and make skin look chalky.
Using black for every shadow
This often creates lifeless gray areas.
Mixing every color together
Complex mixtures quickly lose clarity.
Professional painters keep mixtures controlled.
Sometimes a simpler mixture creates a stronger result.
7. Use Color Temperature to Create Realistic Skin
Realistic skin is created by temperature shifts.
A portrait becomes more convincing when the painter understands:
Warm against cool.
Cool against warm.
Examples:
Warm light with cooler shadows
Cooler background with warmer skin
Warm highlights against neutral midtones
These subtle changes create depth and life.
8. Practice Skin Mixing With Small Studies
One of the fastest ways to improve is creating small color studies.
Instead of immediately painting a complete portrait:
Try:
Small sections of the face
Different lighting conditions
Limited palettes
Value studies
Create several variations and compare them.
This builds understanding much faster than only finishing large paintings.

9. Study How Great Portrait Painters Used Skin Color
The best way to understand skin tones is to study painters who mastered them.
Look at:
How they simplified colors
Where they placed warm accents
How they handled transitions
How they used neutral passages
The goal is not copying their exact colors.
The goal is understanding their decisions.
10. Skin Tone Mixing Is About Observation, Not Formulas
There is no universal skin tone recipe.
Every person is different.
Every lighting situation changes the colors.
The strongest portrait painters develop the ability to observe:
Value relationships
Temperature changes
Color intensity
Surface transitions
The more accurately you see, the better you can mix.
Final Thoughts: Developing Your Color Understanding
Learning to mix skin tones is not only a technical exercise.
It is training your eye to understand relationships between colors.
When painters develop this ability, they gain more control
over every painting they create.
Go deeper into the world of painting.
Discover more artists, ideas, and perspectives for your own practice.
Explore Introspective Art


Comments